Gardeners dream of lush green plants bearing wonderfully coloured and textured fruits and vegetables. But the reality is different. Some plants need more sun, while others require some shade. Plants have varied needs in soil nutrients, the amount of water required, as well as maturation rate.
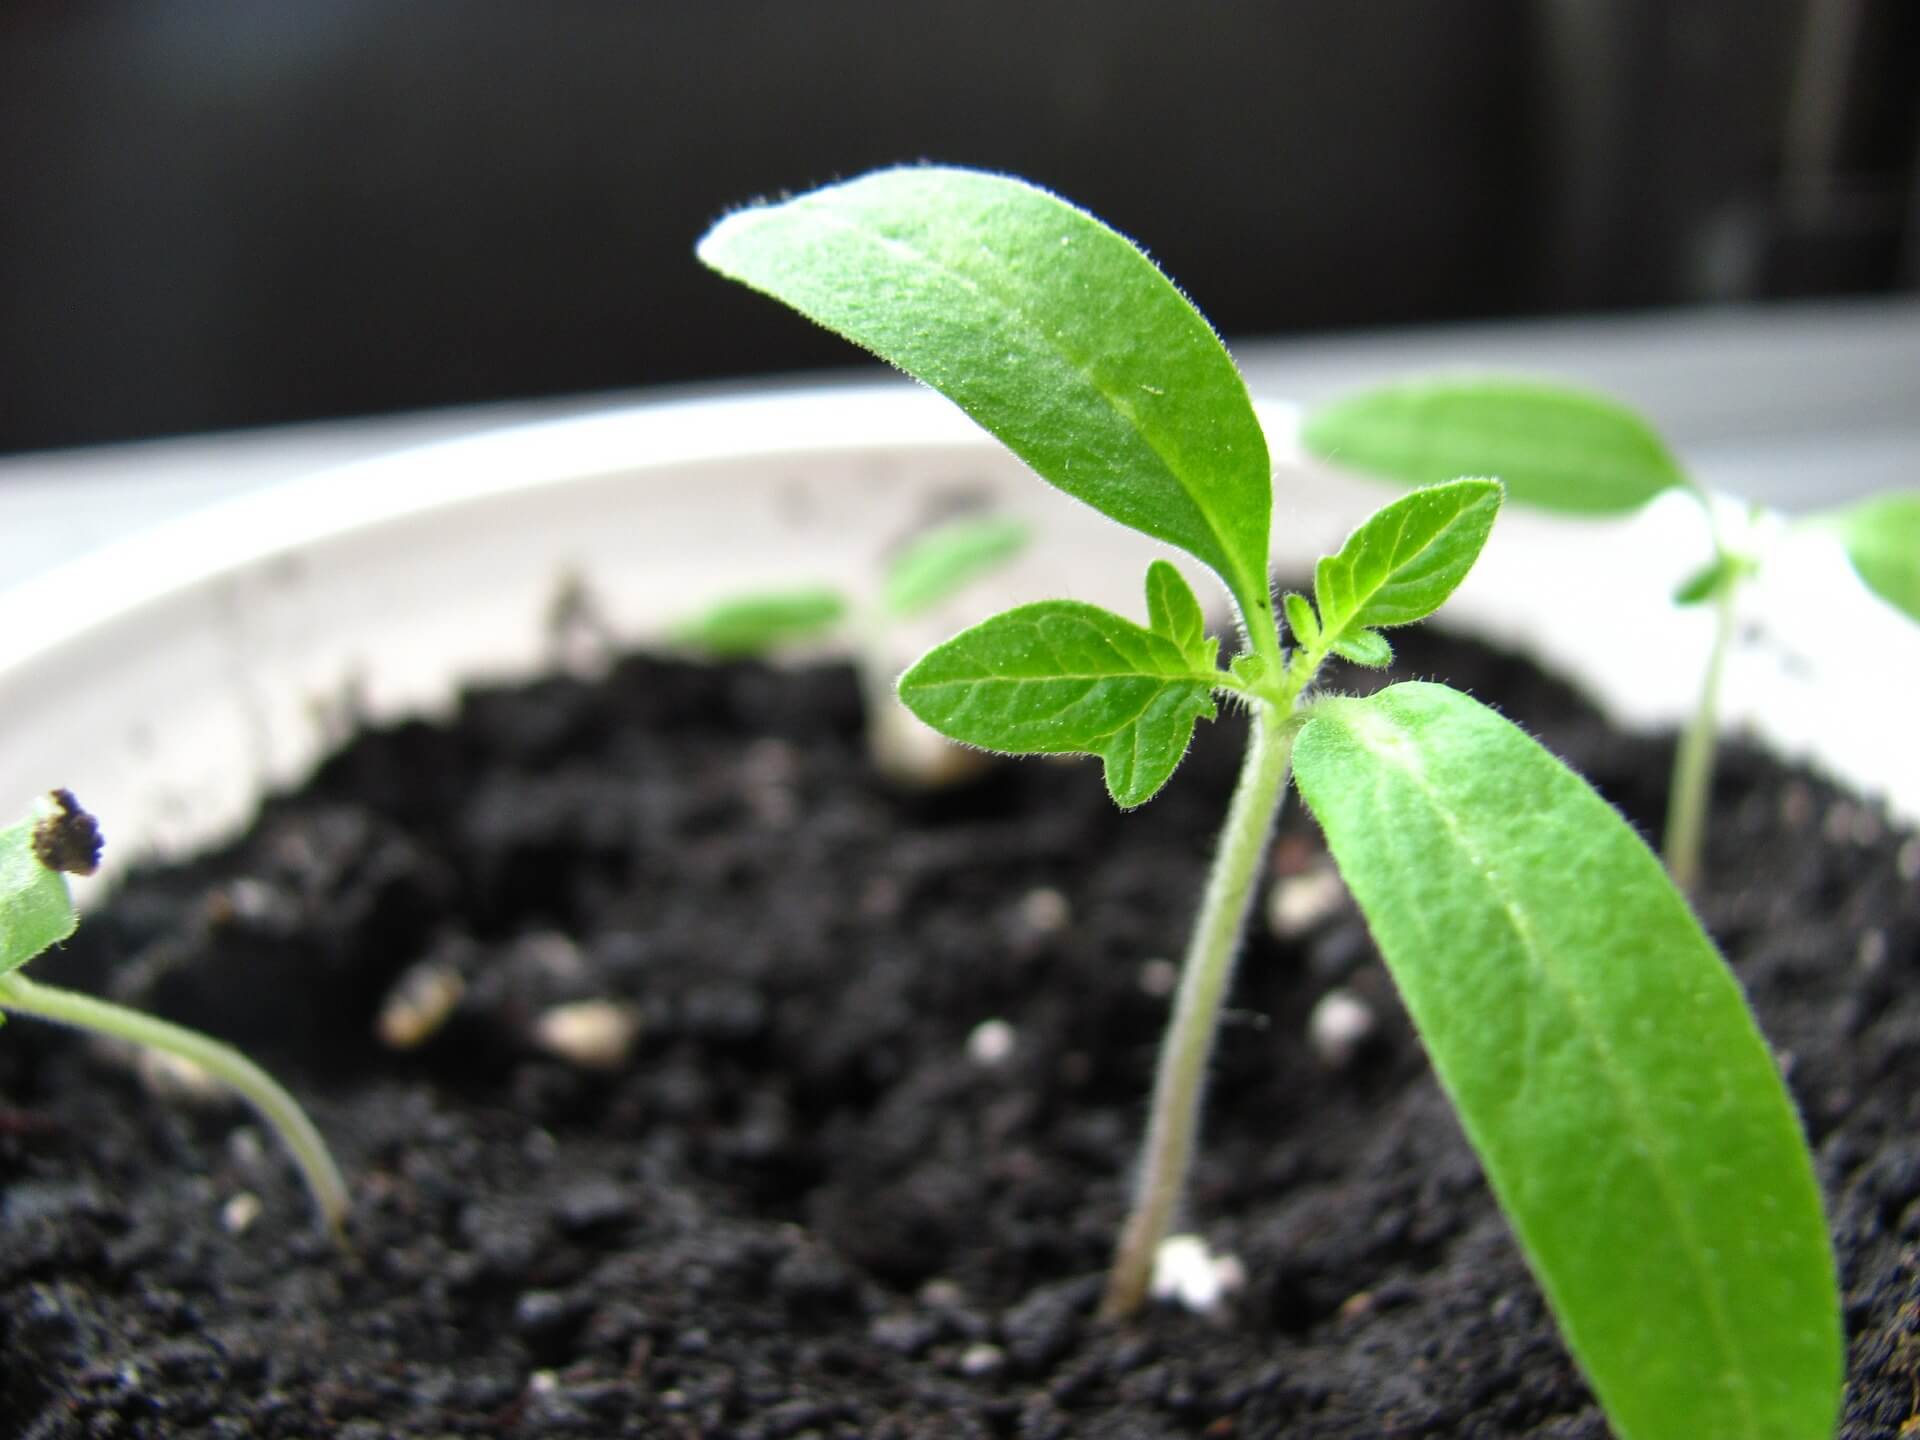
The best way to get the perfect garden started is to learn how to start seeding your plants indoors. Gardeners may begin different types of plants, instead of being limited to the basic squash, tomatoes, and peppers. Seeding plants indoors brings earlier and more bountiful harvests.
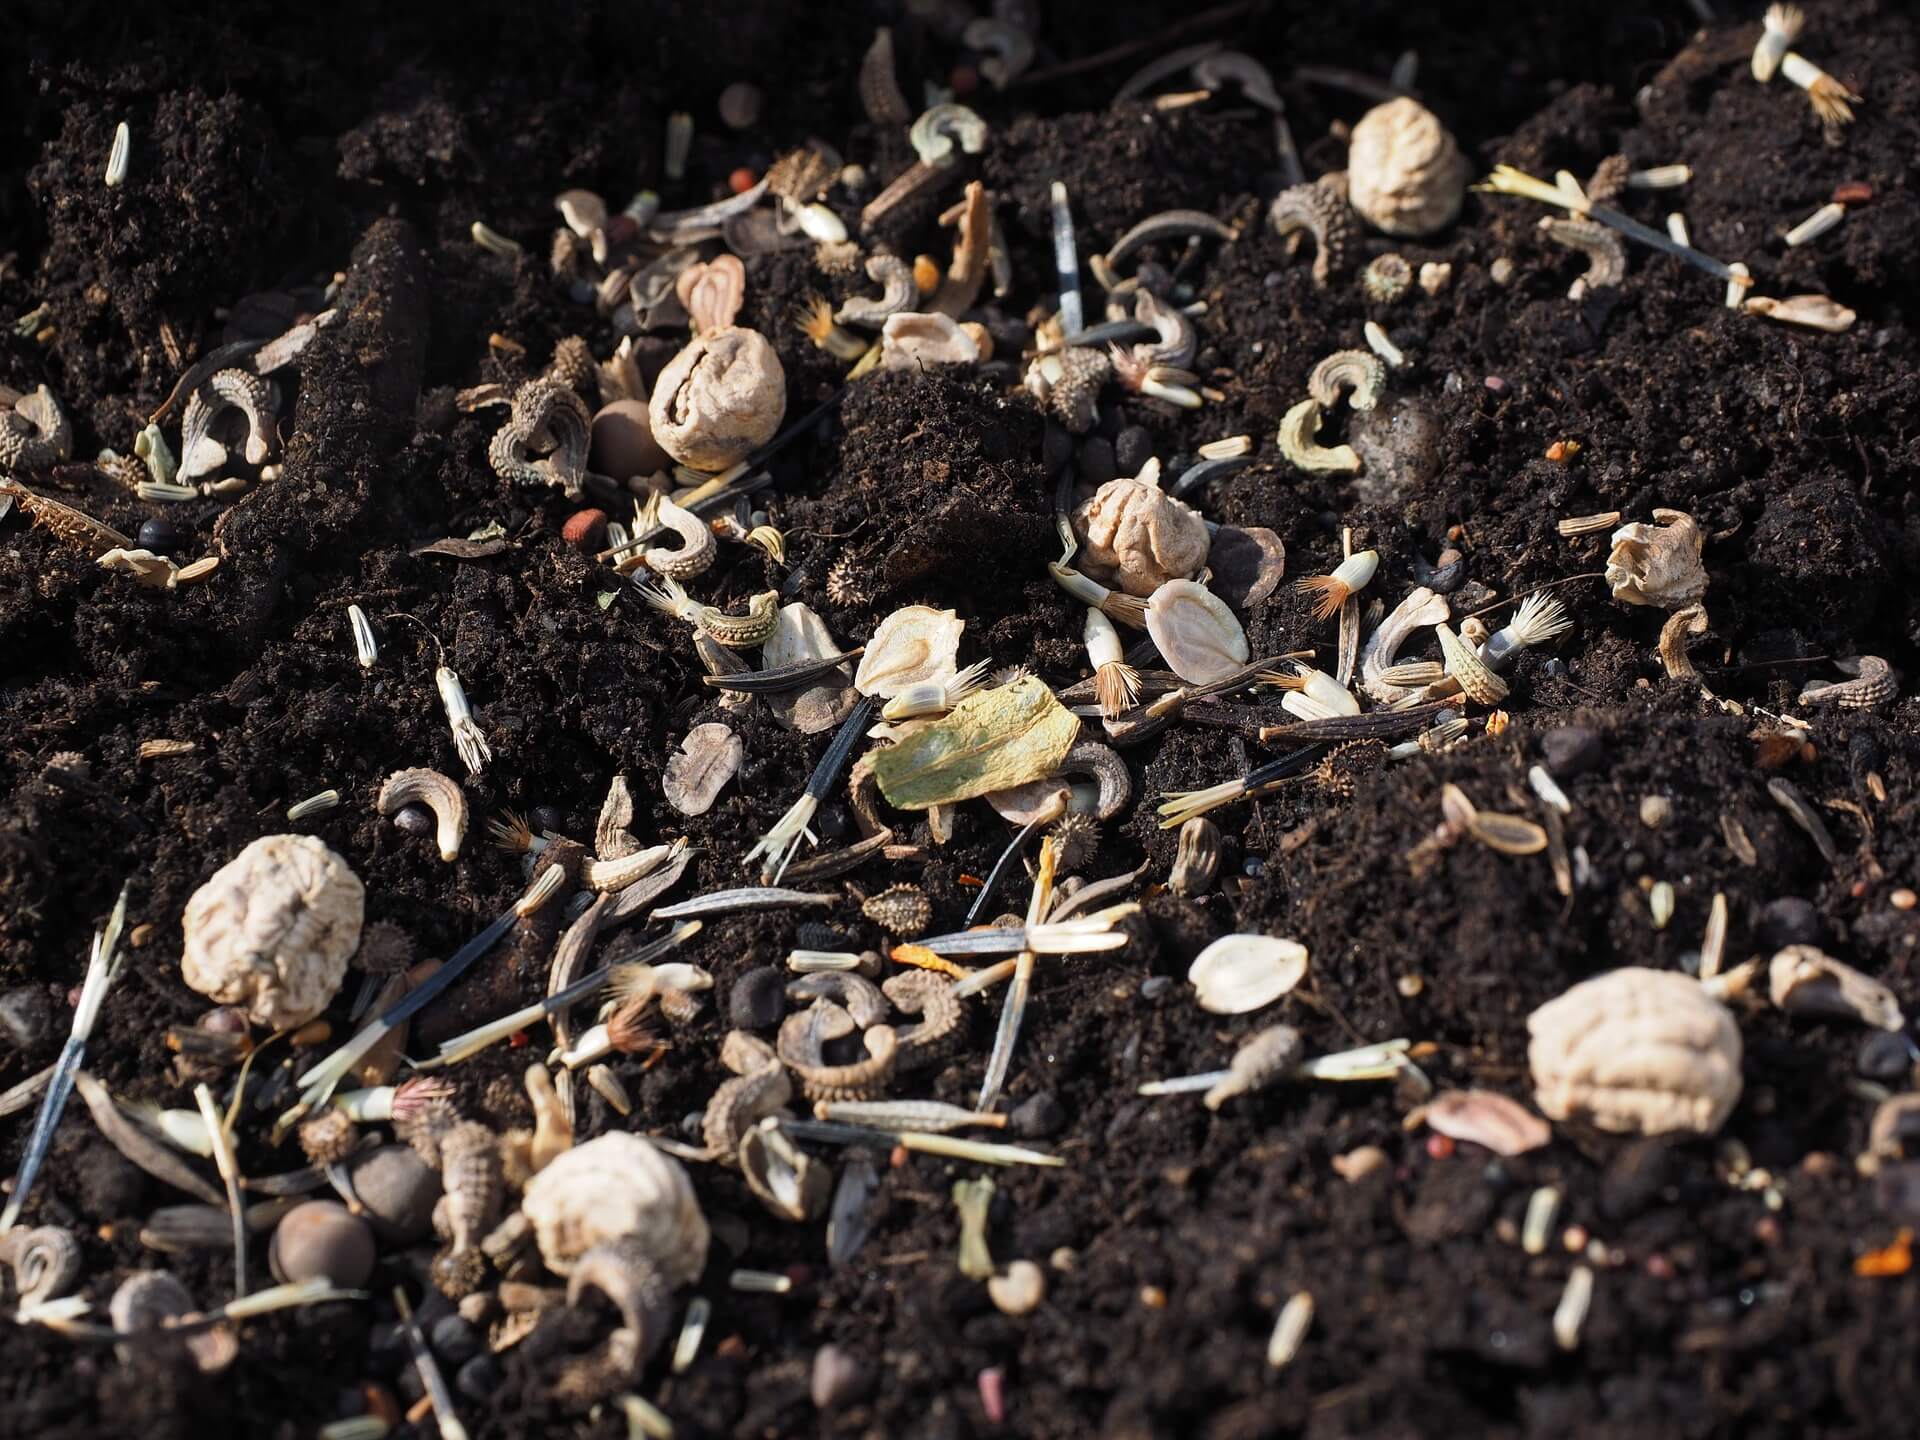
It is understandable gardeners want to seed many varieties of plants. The best advice is to keep it simple. Seed only a few varieties of fruits and vegetables. Ensure they are labeled clearly for later planting.
How to Start Seeding Your Plants Indoors
Begin the seed adventure with light. Gardeners will need a south-facing window or bank of windows with strong light. For gardeners without south-facing windows, investing in a grow light and a timer works. Plants without strong light for a set amount of time don’t grow strong in addition to their produce being weak.
TIP: The grow light should be three to four inches above the plants. Fluorescent lights work best, because they shed light but remain cool. Regular bulbs will burn the plants. Hang light fixtures where they can be adjusted as the plants grow.
Next, gardeners will need containers. Anything will do, as long as the container has drainage holes. Many people remember their children coming home from school with plants begun in paper cups, cut off plastic Coca-Cola bottles, cardboard milk cartons, or yogurt containers. Whatever the gardener chooses should have drainage holes and be about two to three inches deep.
TIP: Many seed starting kits offer containers that can be planted, so they grow into the soil. They also offer trays and clear tops for humidity.
The next and probably most important item in how to start seeding your plants indoors is the planting medium. Seeds don’t need regular soil until they’ve been truly and strongly begun. Peat mix is sold in most department stores as well as in gardening centers beginning in the early spring.
Peat is light and spongy. The thread-like plant roots easily push through and around the peat. Peat also holds just the right amount of water. The seeds have the capability for growth, so they won’t need fertiliser in the seeding stage.
TIP: Before planting the seeds, put the peat mix into a bucket. Wet it down until it crumbles. It shouldn’t be sopping wet, just moist.
Timing is the next thing a gardener needs to know. Check on the seed packet for planting times. For hints on how to start seeding your plants indoors, the packets will advise gardeners to start seeding six to eight weeks before the last frost. Keep an eye on the almanac for the last frost, usually in early to mid May.
TIP: Plants such as beans and some flowers grow too quickly to be begun indoors. Check the seed packet for the words “direct sow.” This tells gardeners the seeds should be begun outdoors.
Ready to Plant Your Seeds?
1. Fill clean containers up to just beneath the rim with peat mix from the bucket that was watered. Make sure the mix is crumbly to facilitate oxygen flow.
HACK: Sterilize the containers with one part bleach to ten parts water. The tiniest contamination can kill seedlings.
2. Plant seeds according to seed packet instructions. Push into the peat mix with a finger or the top of an ink pen or the eraser end of a pencil. Two finger-pushes in the container will hold seeds. Small seeds can even be sprinkled atop the soil.
HACK: The largest seeds sprout first.
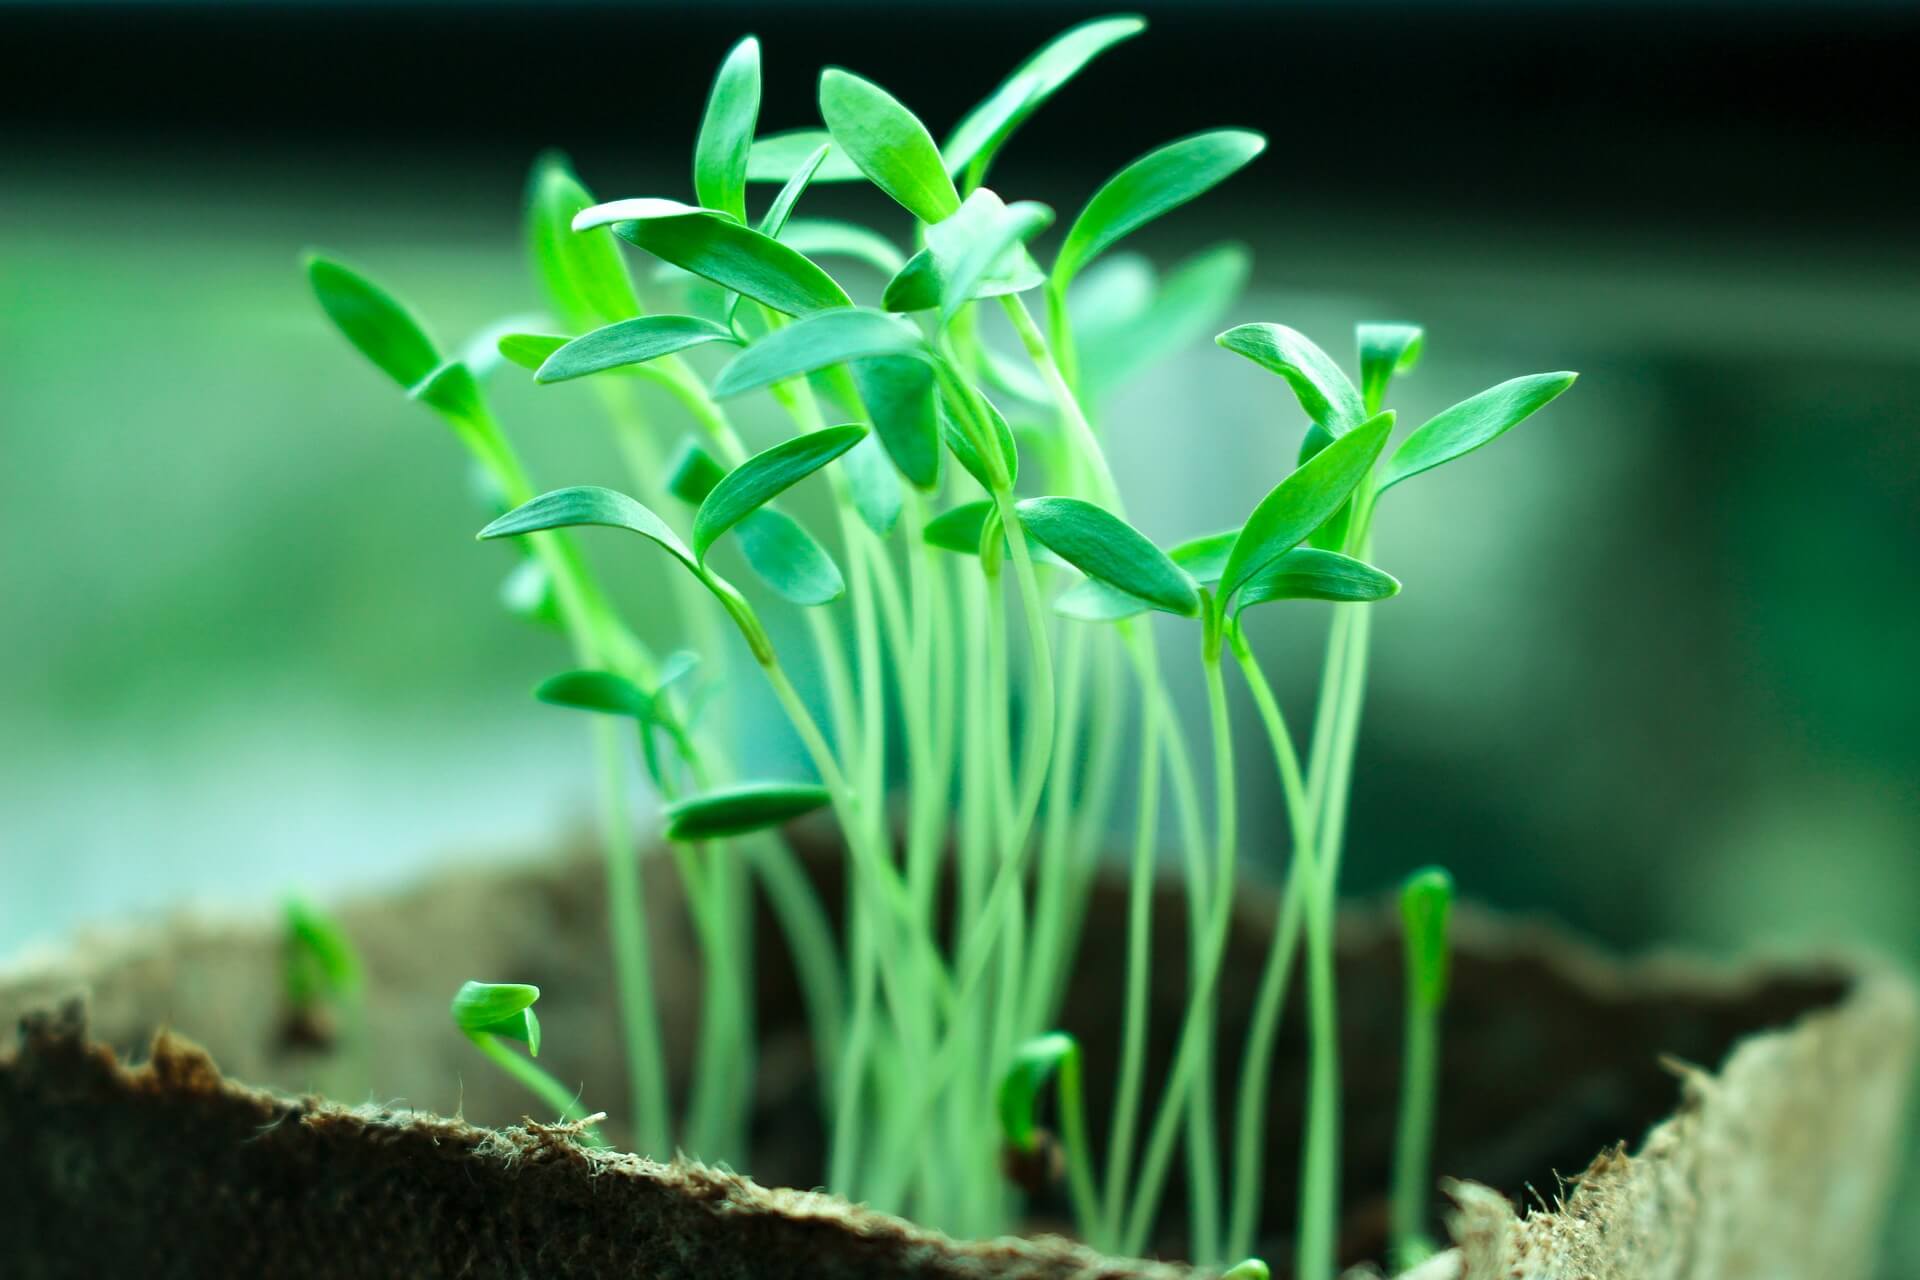
3. Cover the tray with plastic. Poke holes in the plastic for ventilation. The cover keeps moisture in, which the seeds need to live. When the first green sprouts appear above the peat mix, the plastic can be removed.
HACK: Plastic lids from store-bought birthday cakes make excellent covers.
4. It’s time to water the seedlings. Watch the pressure with which they are watered. A strong flow, such as from a pitcher, will kill the seedlings. A soft flow, like a mist, isn’t enough. Some experts recommend a turkey baster for the right pressure. Gardeners could also try a child’s squirt gun.
HACK: When the plants sprout, remove the plastic cover to water the plants from the bottom. Watering from the top introduces germs or bacteria into the plants which could kill them or damage their produce.
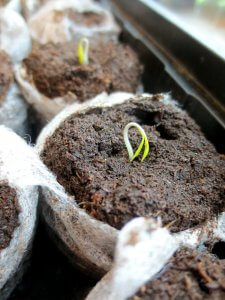
5. Place seedlings near a heat source, not directly upon it. When the first green sprouts show, remove the tray from the heat source. Keep it in a warm area with temperatures between 68 and 75 degrees. Plant when the last frost is past.
–
 Sarah has loved gardening and nature since childhood. She loves to read about new plants and gardening tips. She works for YourGreenPal which helps you to quickly find, schedule and pay for Lawn Care Services.